Anyone who has tried to play a loud room with a nice, resonant archtop knows this problem well: you briefly lift your fingers off the strings and “WOOM”…. debilitating feedback through your amp.
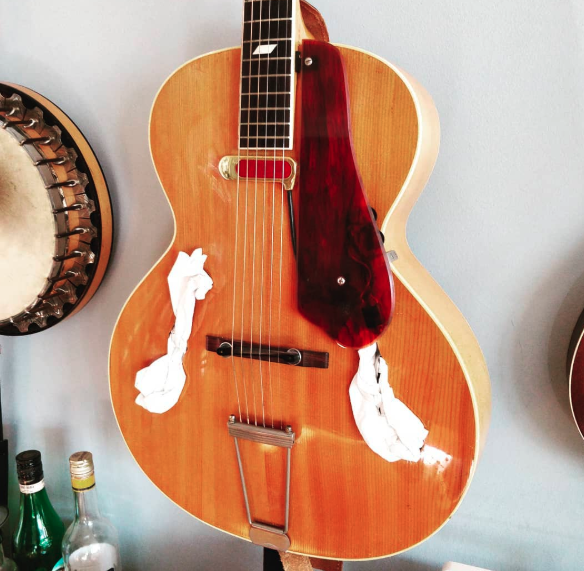
There’s a low-fi quick fix for this of course, just run to the restroom and come back with a few handfuls of toilet paper. Then stuff ’em in the sound holes, like so:

Effective! But aesthetically… lacking. Now I’m not one to judge appearance if something does the job, but I also happen to work with a super-uptight wedding planner guy and I can’t help but picture his frowny-face whenever I’m even beginning to think about skimping in the looks department. Past infractions have included “ripped grill-cloth”, “slightly wrinkled shirt”, and the unforgettable “bent Manhasset stand” incident.
So in order to keep all potential micro-managing wedding planners of the world happy, here’s my f-hole cover solution (and yes, I used 3d printing again).
By the way, repeatedly saying “F-Hole” can sound a bit uncouth. From here on out on I will be replacing it with “sound hole”. Nope, you wont be hearing me say anything like, “gently insert the plug in your f-hole”, nothing of the sort.
Copy the sound hole
A common method is to take pencil rubbings of sound holes to get a template, but I found this method to be sloppy and error-prone. I have a very decent smartphone camera in my pocket so why not just work from a picture of one? I took a picture from above, making sure that the camera was dead-parallel to the guitar. I then imported it directly into my 3D modeling software, Fusion 360.
I measured two distinctive points on the original soundhole, the distance between the stylish sharp points on the sides of the mid-section. It was 30mm from point to point. Then I used the “calibrate” feature in the software to select these same two points in the picture and set them to 30mm as well. This scaled the image to the exact dimensions of the actual soundhole.
I then traced this scaled photo using some circles and spline curves, like so:

You can see I took some liberties there to get a smoother appearance, but precision actually isn’t super important. It needs to be slightly bigger than the actual hole anyway, so I slopped in that direction. I then selected this drawn region and extruded it 2mm in thickness. I figured that would be thick enough for it to be both rigid and slightly flexible.
BTW, I just followed this tutorial from NYC CNC on Youtube to figure all this tracing business out. Thanks NYC CNC!
It’s probably safe to assume that both sound holes on the guitar are exact mirror images of each other. The luthier likely traced them from the same template flipped over. I can do the same in software, so I only needed to model one side.
3D-Printing a prototype template
You can never plan on getting things perfect the first time, so I 3D-printed out a prototype in a throwaway filament color that I had plenty of: eggshell white. It popped off the print bed 30 minutes later and I lined it up.

Not quite right. Looks like I took to many liberties with the trace. Working off this picture, I fattened up the curves that were coming up short in my model and printed another one and it was a good enough match.
I then loaded up the less-expendable black color filament and printed out two final templates, the second a mirror image of the first.
Cutting the foam
In order to get these to stay in the sound holes, I still want to use some shaped foam since will expand and hold itself in place while covering more surface area.
I used the freshly 3d printed templates and traced the form onto some foam that I “extracted” from a crappy yoga mat I had laying around.

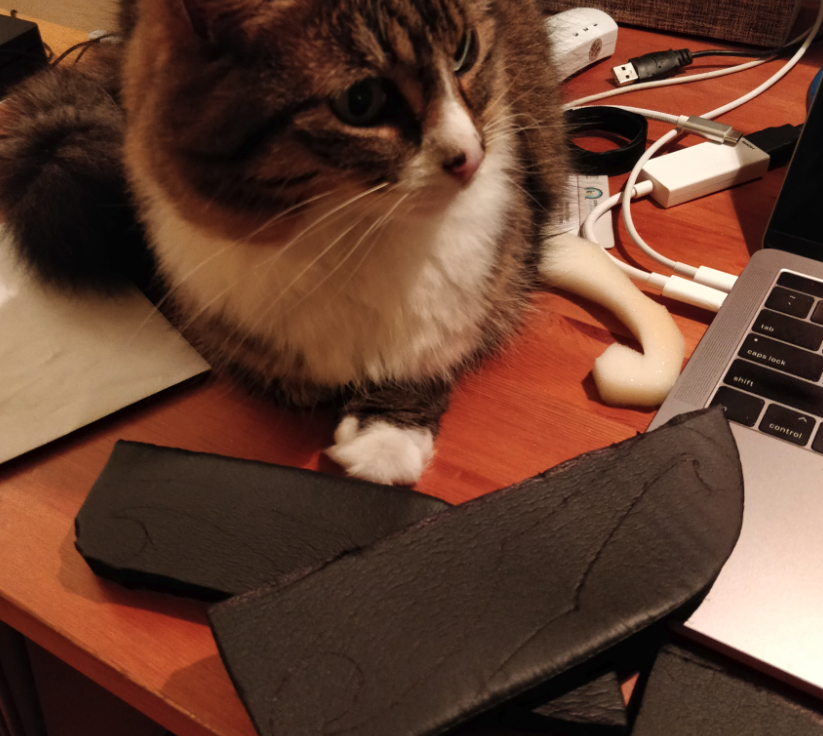
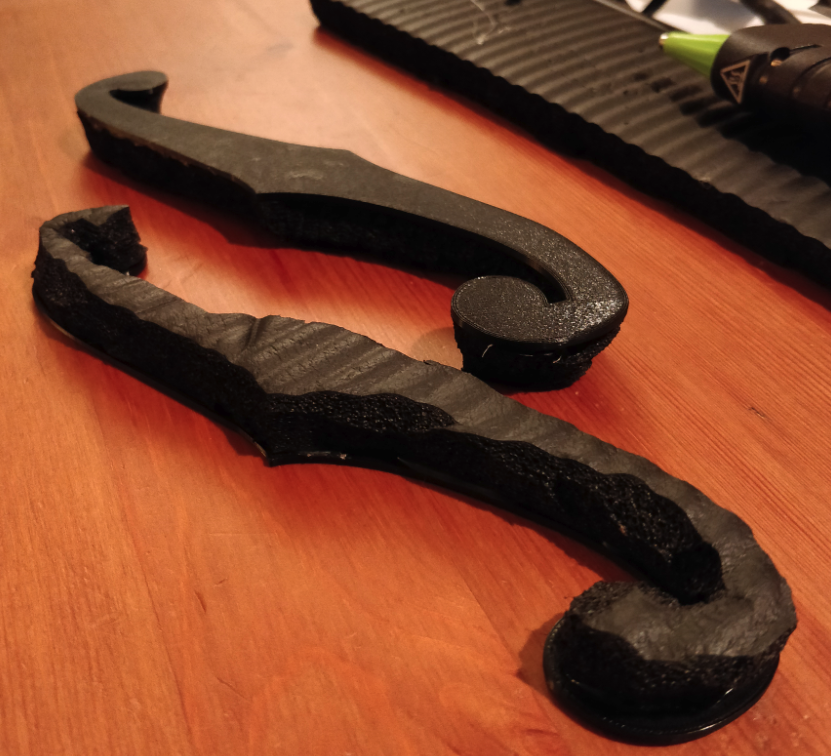
It can be very hard to cut foam precisely without proper tools, so I roughly cut these out with an X-acto knife and scissors. It doesn’t really matter, they will not be visible when installed. Then I hot-glued my 3d-printed plastic templates to the top of them:

Installation
After some clean-up trimming, I fitted them in the archtop, and they work great! Not 100% exact, but pretty darn close! I was impressed that I could get good results like this from just tracing a cell phone picture.

Can’t wait to take this to some notoriously feedback-heavy clubs and have my revenge. Pagan Idol, I’m coming for you.
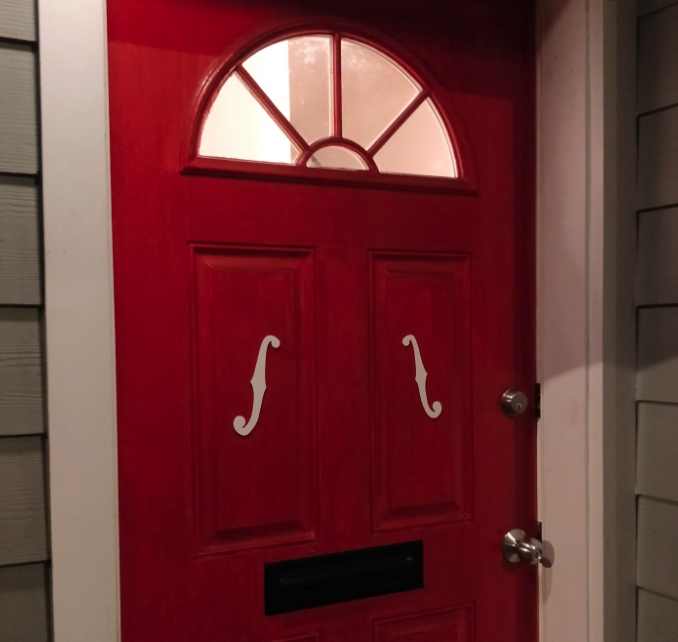
But wait, what about those two ill-fitting test prints I made? Fear not, I’m certainly not one to waste anything. Let’s just say the next time you come over to visit you won’t have a hard time picking out my house.

What strings are you using on your Blackstone? Have some bronze wounds but they get clogged w sweat too fast.
martin retro monel 12s